
2 Ways to Dye Leather
Dyeing leather is a simple and messy way to spruce up your leather project. And these methods of how to dye leather is pretty universal whether you have top-grain or full grain, veg-tanned or pre-dyed veg-tanned leather.
If you chose to dye a leather that has already been dyed you will most likely have to go darker. It will be very hard/near impossible to lite up a pre-dyed leather piece.
Different leathers will have different types of finishes though and dyeing a pre-dyed piece of leather will have a lot more on it. Waxes and oil will protect the leather and become harder to die. The best bet is to try to clean them off as much as you can so let’s just jump straight into the two methods of how to dye leather.
Step 1. Prep the leather
Before you start dyeing your leather you might want to do a little preparation beforehand. This includes putting down protection underneath your leather to avoid dyeing your table, work bench etc. I’ll usually just use some plastic bags taped down so it will catch any spills.
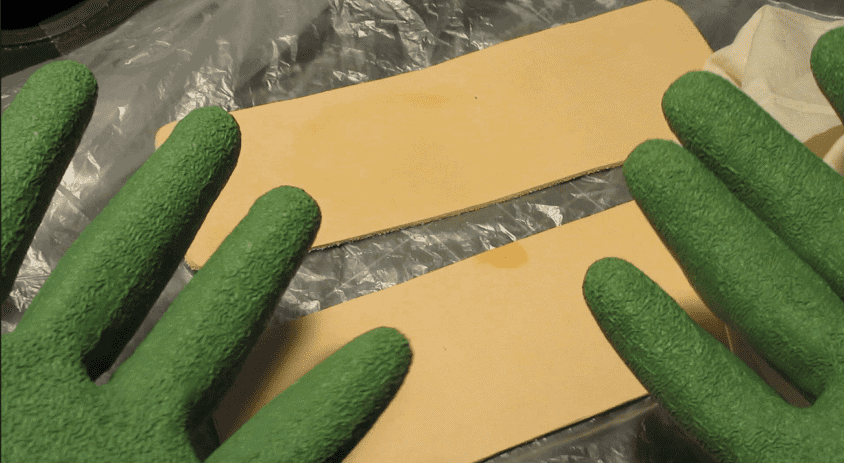
Gloves are optional but recommended. Since your skin is leather as well, your fingers will covered and stain pretty easily. It will wash off eventually after a couple days.
But if you have some disposable gloves it will be a good idea, especially if you are using the dip method. I did not have disposable gloves with me so instead I used gardening gloves, and they sucked. It is hard to grab the leather and it didn’t even protect my fingers. So spend a couple bucks and cover your hands properly.
If you are planning on watering down your dye you might want a cup of water or oil depending on the dye you have. You can use the Fiebings dye reducer to “water down” their oil based dyes and just regular water for water based dyes.

Cut the leather pieces beforehand. This will help you avoid wasting any dye on pieces that will be scrapped after cutting the pieces. It will also let you dye the edges of your leather. In saying this, you will probably have to do some sanding and beveling after which will take off the dye anyways. But if the dye soaked into the leather there will at least be a closer color range.
So some people will choose to do all of this before dyeing anything.
You can sand down all of the edges around your pieces to make sure they are shaped correctly then bevel the edges before dying. This can help avoid having to re-dye any edges later on in the project.
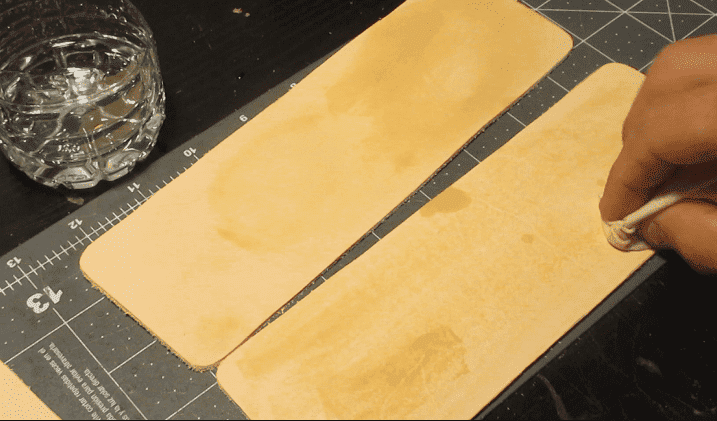
Once that is complete you are going to want to wash off any oils or dirt that has collected on the leather. If the leather has been sitting around it is bound to collect some dust and your hands give off oils that can soak into the leather.
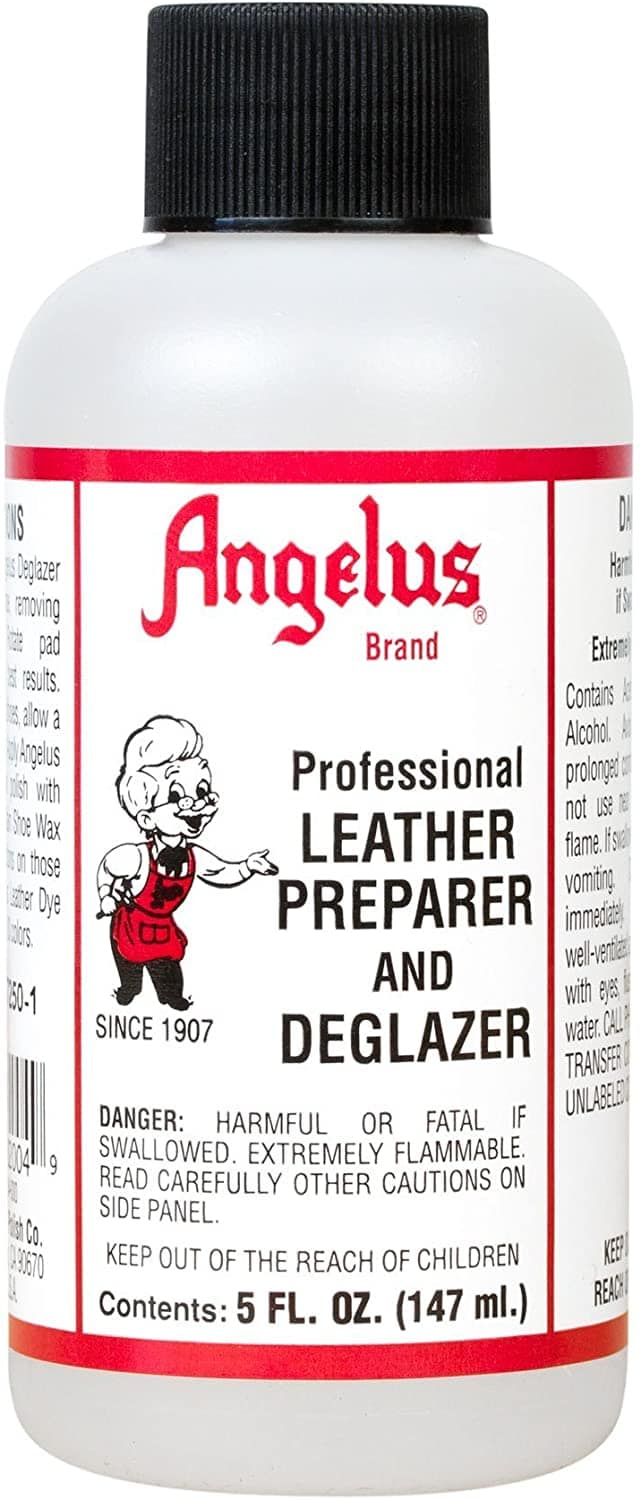
This can be done by using a deglazer by Angelus or diluting some isopropyl alcohol with water.
I will use wet cloth rag with a small amount of alcohol and water on it. Make sure the rag isn’t too wet or it will take longer for the leather to dry and will dry a little extra tough. Give the leather pieces a quick wipe down and let them dry.
This should only take a minute or two as the rag shouldn’t be too wet.
Once prepped it is time to start dyeing the leather.
How to dye leather
After leather has been prepped you can start adding some extra color into your leather.
Dying Method 1: Dye leather by Hand
Dyeing the leather by hand can give you added coats for darkening the dye.
To start you’ll want to take a wool dauber or in my case I have a clean cloth rag and dip it into the dye. The daubers do work better as they soak up a lot of dye which will make for a faster spread. They also have a handle which will help reach into the bottle and avoid touching the dye.
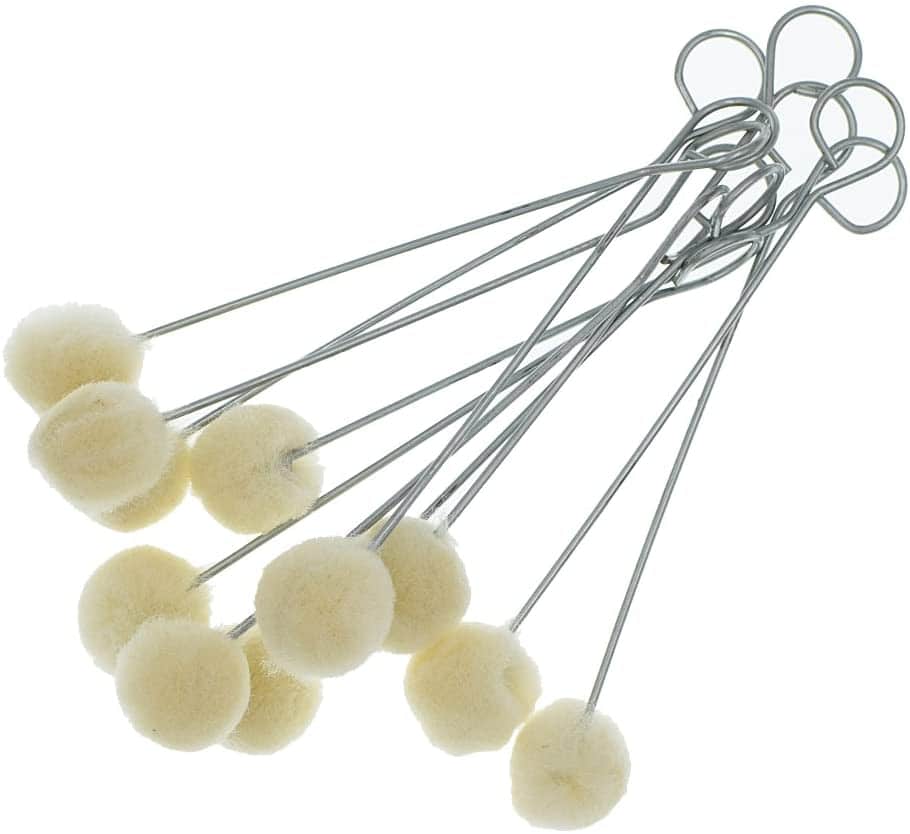
Using small sponges can also be used for the same outcome. As you can easily add pressure to release more dye.
The dye I am using is Fiebings medium brown dye which creates a warm brown look. This can also be darkened fairly easily by adding more coats. This is why I would recommend going for a lighter color as it is much easier to darken than lighten a dark color.
To check out colors and guides you can check out Fiebings Leather Color Chart to see which colors you want to use.
When using a cloth the dye can easily dye into the cloth causing it to soak up your dye making you have to go back for more much faster.
You will start by applying the first coat in a circular motion making sure you cover the entire surface area.
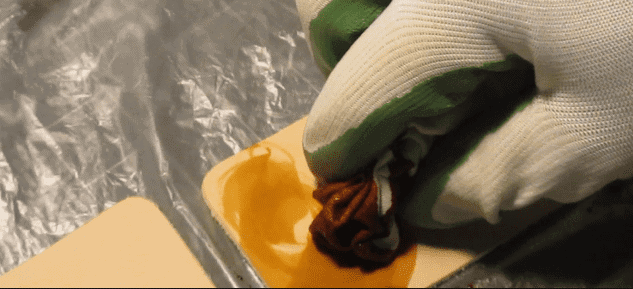
When you first start you want to avoid pressing down too hard as you will end up with your dye flooding out of your rag or sponge. Start by applying small amount of pressure and as you are running out of dye you can apply more to release more dye onto the leather.
This will let you take advantage of all the dye on your tool and quickly put coats onto your leather.
Splashing out the dye onto the leather though can also can be a desired look as uneven dyeing can create a cool look. When you have big patches of dye sitting on leather it will tend to dry in the shape of the dye.
You want to continue doing this circular motion for around three coats or more depending on how dark you want the leather to look.
Once it has dried you are going to do the same around the edges. The edges will soak in the dye much faster since they are not the smooth tanned part so doing three coats will take no time.
Once fully coated with three or more passes you can move onto applying a finish.
Dying Method 2: Dip Dye
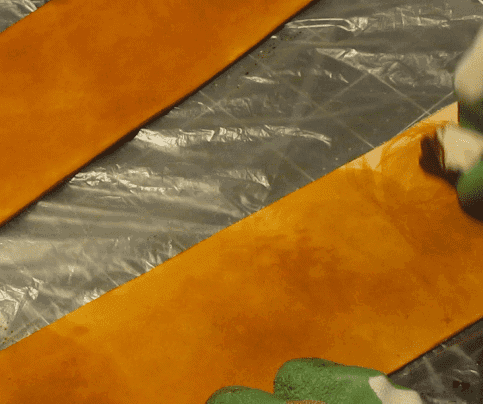
The second method is very easy but can be very messy and use up a lot of dye. This would be the Dip Dye method where you will plunge your piece of leather into a container of dye.
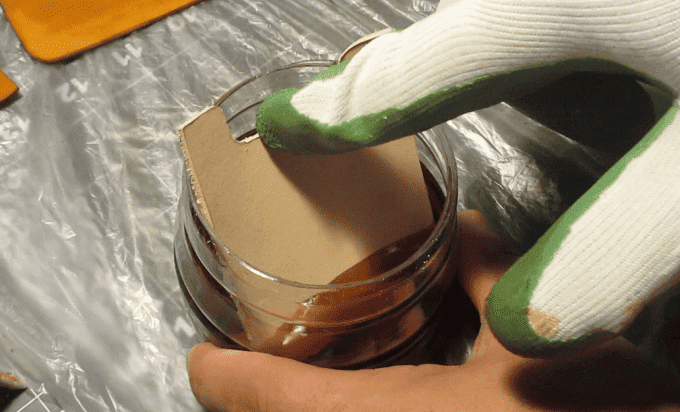
Doing this will speed up your process and would dye the backside of the leather if that’s what you desire.
I am using heavily watered down dye because I didn’t have much to work with and didn’t want to waste it all.
It’s as simple as having a container of dye, and dipping your piece of leather through the container. Take the piece out and let dry.
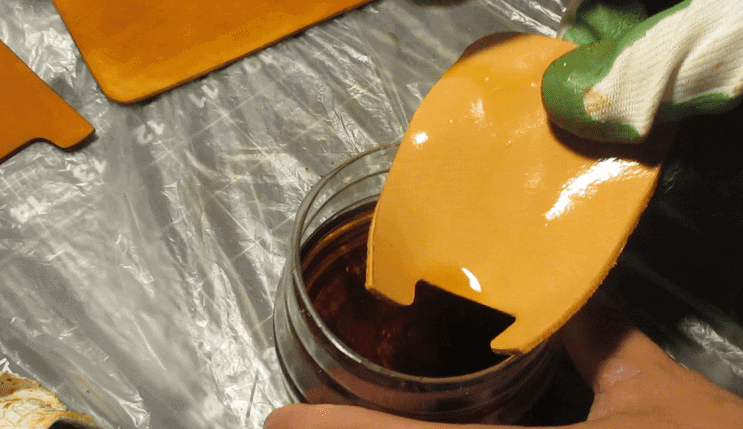
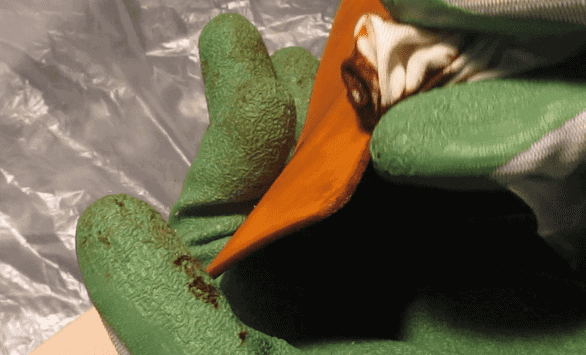
You can leave your leather inside the container for however long you want. I noticed when dyeing for longer time, it will soak up a bit more dye but usually not as much as I would hope for.
This will take a lot longer to dry since the whole piece of leather will be soaked with dye.
If you are dyeing anything with holes in it, you can make and attach a paper clip hook through it to dip it and pull it out easily. Or if you have a big enough container you can make a small rack and use it to pull up all the pieces in the dye.
This method would be beneficial if you were dying a lot of small pieces and want to cover the whole piece.
Finnish the leather
After the leather has been dyed you are going to want to avoid having any of it rub off on other clothes or hands.
To secure the dye onto the leather you will need to finish it off with some sort of sealant. I use a saddle soap and/or acrylic resolene to secure the dye. I tend to use both and sometimes apply a coat of Fiebing’s leather sheen.
I will apply a small amount over the leather and rub it in making sure I cover all surfaces of the dyed leather.
This sheen causes the leather to have a glossy look that sometimes is not desired so you can just use an acrylic resolene or a satin sheen.
Another saddle soap I use with or without the sheen is Kiwi’s Saddle Soap since it can be found at Walmart for six or seven dollars and even cheaper on Amazon. This is not the best saddle soap but you can find it locally pretty easily.
This is meant to seal and protect leather. I have never had any issues when using this and it is as simple as rubbing this into the leather and then buffing it with a soft cloth. It creates a small shine on your leather but is not as strong as some of the glossy sheen protectors.
Those two methods on how to dye leather should be done in whichever way is needed for your projects. One is more hands one and controllable while the other way is much quicker.
After you have dyed and sealed the leather, check out how to age leather. This will add a unique look to your leather project by speeding up the patina process.