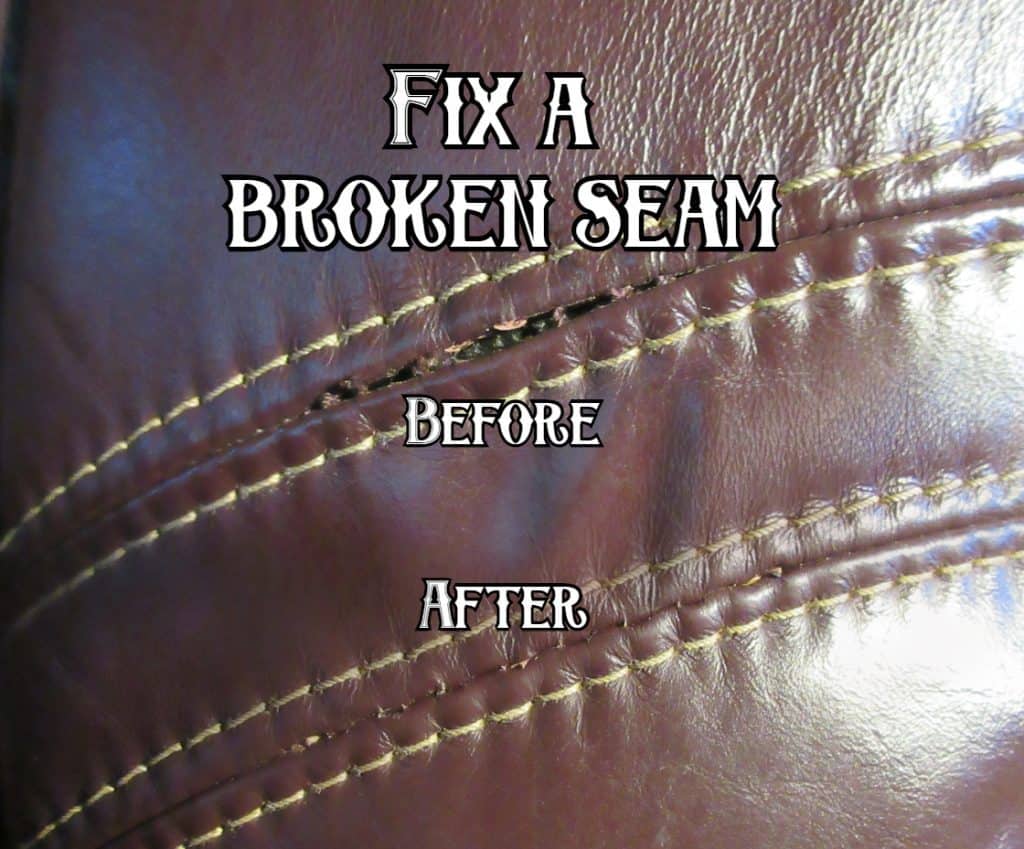
How to Repair a Broken Seam in Leather Upholstery
If you have had a leather chair for quite some time you will start to notice seams tend to rip. Luckily you can repair a broken seam with a couple items that are fairly cheap.
Plus learning how to repair a broken seam in leather upholstery by hand will allow you to fix seam for couches, chairs, recliners and even car seats.
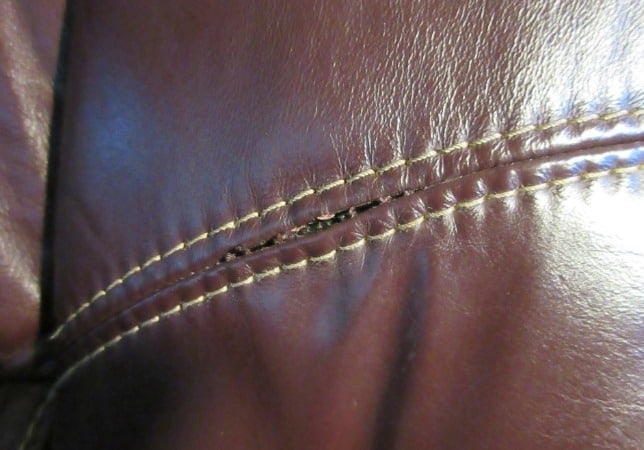
If you have read my ‘7 Different ways to stitch leather‘ guide you will know that this common seam in leather upholster is called a French Seam. A French seam tends to have two pieces of leather sewn together then each piece is sewn to a back padding.
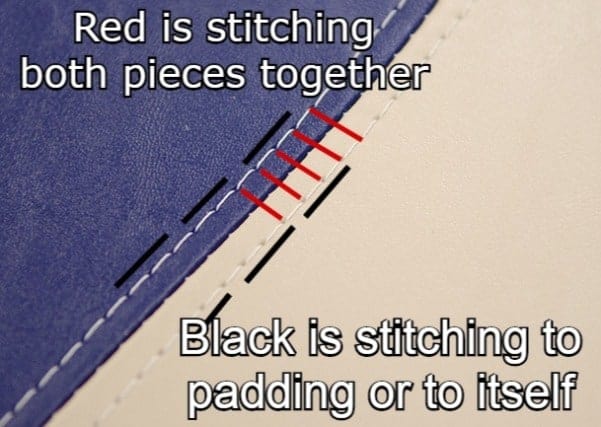
This allows for the seam to be much stronger than an average stitch. But if you notice a seam starting to split, it’s better to take care of it before it gets worse.
When fixing the stitch we will be working in between the two pieces (or where the red marks are for the french seam).
To fix this we will need a hooked sewing needle, some sort of polyester/nylon thread. I am using the industrial revolution thread I use when leather crafting since it is very durable.
Industrial Revolution 170 Meters Waxed Thread Polyester Leather Sewing Cord | Amazon
Buy at Amazon
Check other colors here
Made of high-grade polyester material, which gives you a comfortable touch feeling when you stitch the leather, and it is durable and you can use it for a long time.
We earn a commission if you make a purchase, at no additional cost to you.
For extra help you may want to use some needle nose pliers for pushing/pulling the needle through and a seam ripper to open up the seam.
Step 1. Prepping the broken seam
Once you are ready to stitch the broken seam you will want to open the seam a bit more.
To start you will want to use a seam ripper (or the hook needle in my case) and pull on the thread that is still intact.
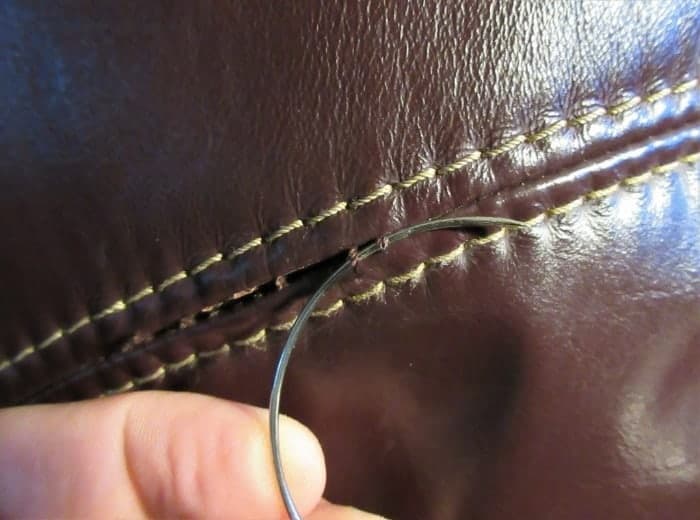
When doing this, you will be popping out the thread that is holding the seam together still.
Do this for both sides until you have about 1.5-2 inches of thread on each side of the seam. This will open the broken seam a bit wider but this will help when finishing the seam.

Step 2. Repair a broken seam in leather upholstery
Now that the seam is a bit more open and the thread can be accessed we can begin repairing.
While repairing the seam all we will need to do is run new thread through the holes in the original stitching. Once there is new thread we can tighten the stitch and tie off the ends and have a new seam.
To break that down I will start by placing my thread through the eye of the hooked needle.
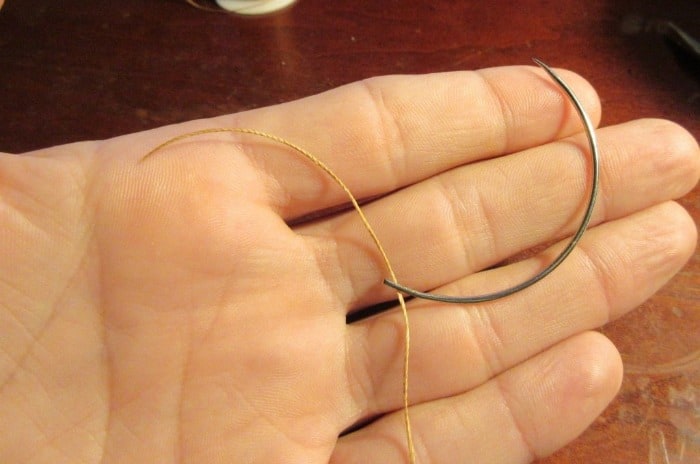
And instead of tying the thread off like you would sewing or stitching a material we will allow it to just sit through the eye. Allow the thread to have around 3-4 inches of length to ensure the needle does not come off of the thread.
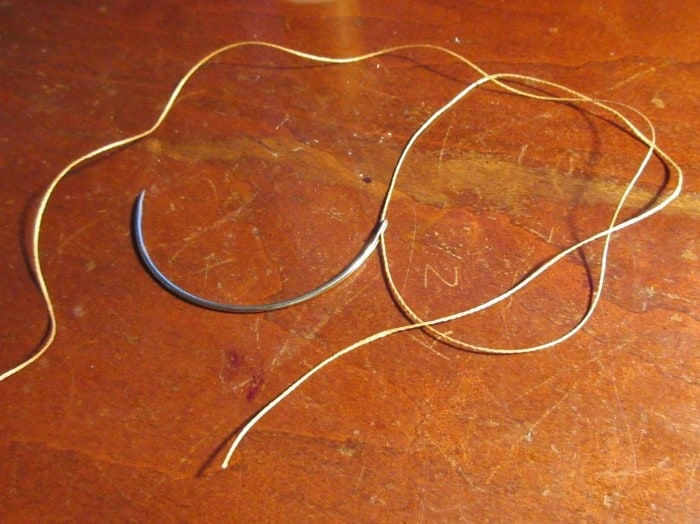
Now that the thread is on the needle you can begin stitching through the old seam.
Colonial Needle JJ60400 Curved Quilting Hand Needles | Amazon
Buy at Amazon.com
$6.12
Finest Quality English Needles. These are a great way to add extra design to whatever project you want to add it to. The perfect start to any project.
We earn a commission if you make a purchase, at no additional cost to you.
07/15/2025 06:03 am GMT
To start you will want to begin on the hole parallel to one of the original threads.
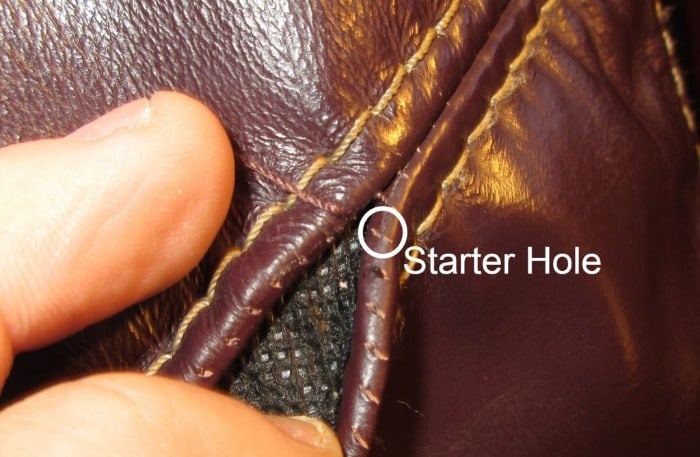
Having the hook needle will help when entering the first hole then going out the hole next to it.
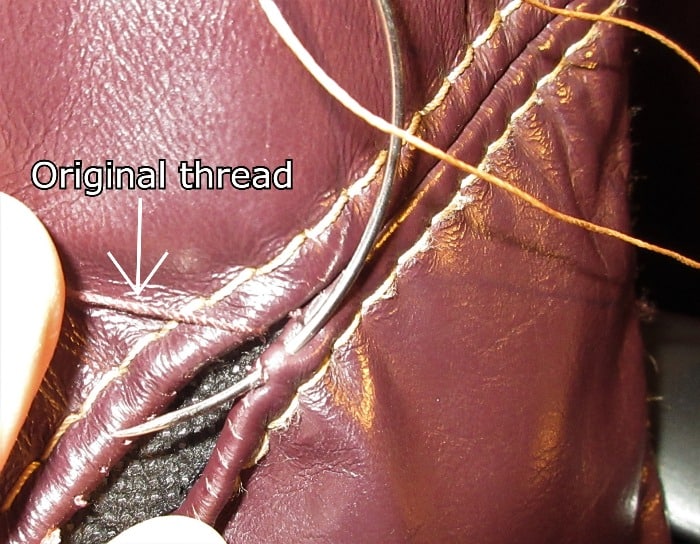
Once in the first hole you will want to push the hook around until you see it pop out of the hole next to it.
Run the needle and thread through both of these holes and allow for about 4 inches of thread to stick out the first hole.
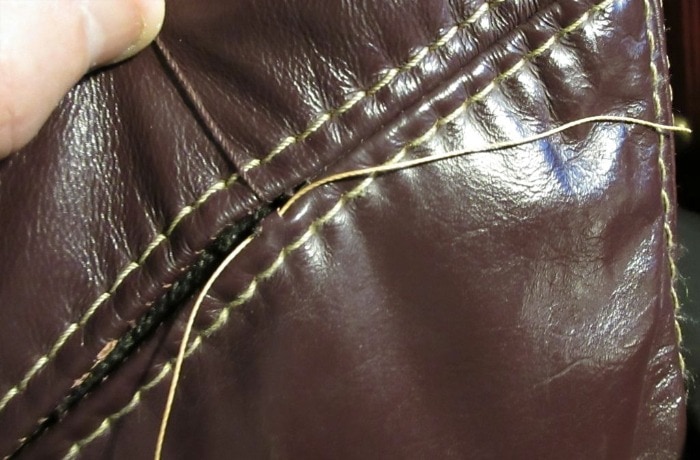
Allowing for the thread to hang out the back of the first hole will be the anchor. Make sure not to pull too hard when going through the next couple holes to pull that piece through the first hole.
Now you will want to run the needle through the parallel hole you just pulled the needle through (in my case the above hole).
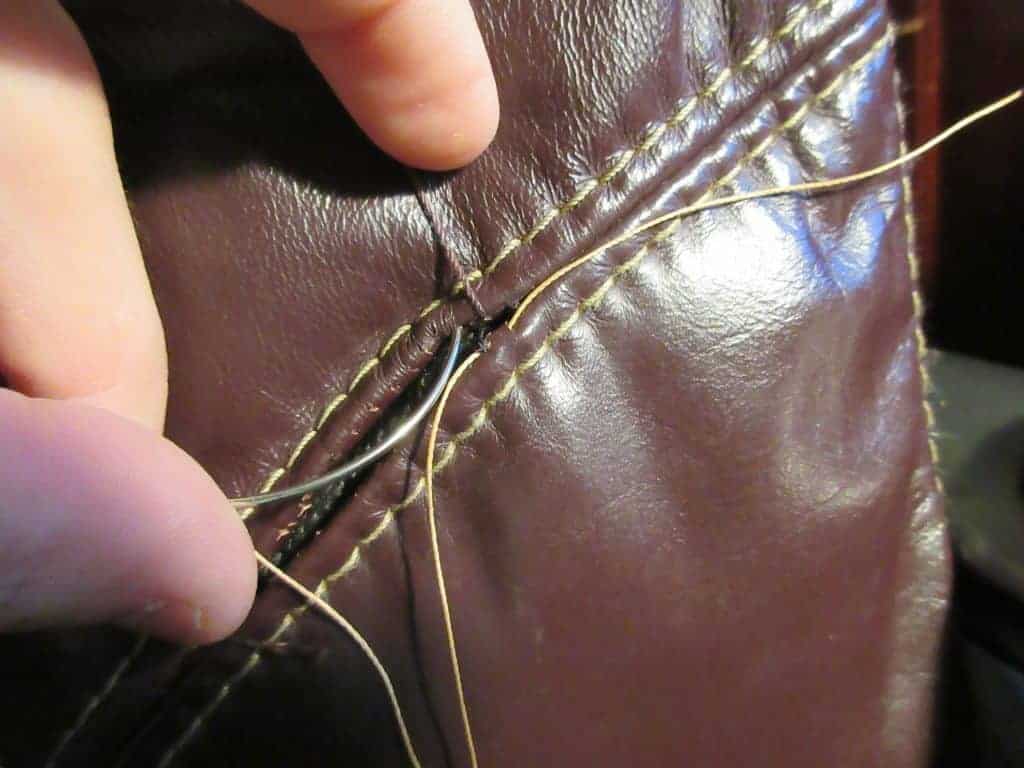
You will do the same thing by going into the parallel hole then running the needle through the hole next to it. This will create your first stitch across the seam.
Now you can repeat this back and forth motion throughout the entire seam.
But as you go through the seam, do not pull on the needle and thread too tight. This will make it much harder to finish the seam and run the risk of losing the anchor thread.
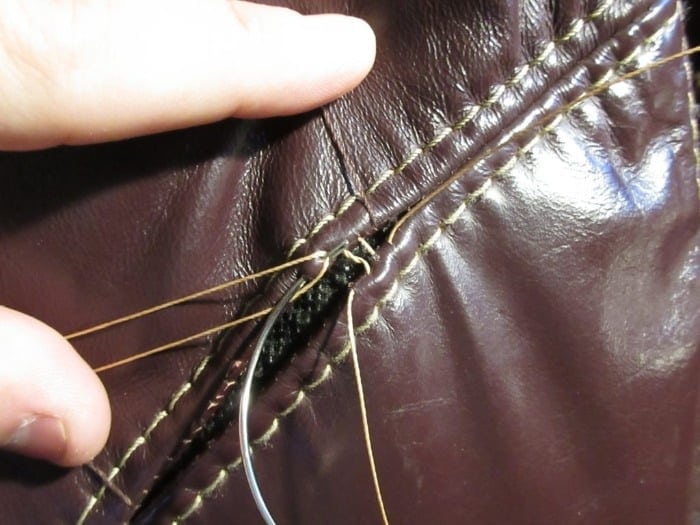
Continue this back and forth of going through one hole and out the hole next to it. Then go into the parallel hole you just came out and back out.
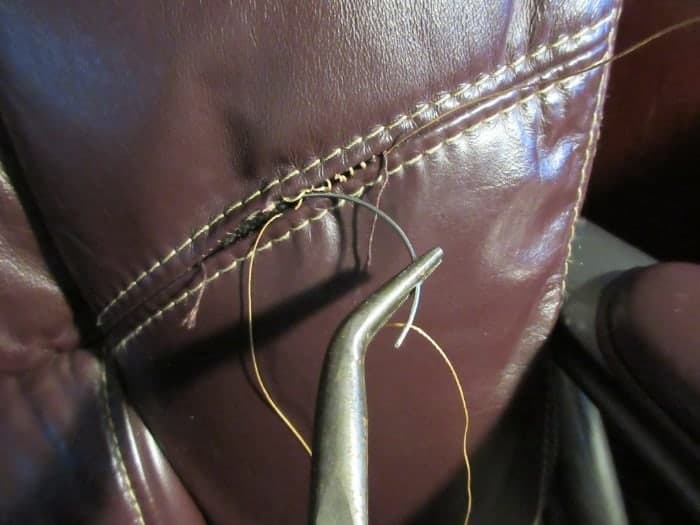
If you find it difficult to push or pull the needle through the holes you can use needle nose pliers to help out.
Once you have reached the end of all the open holes you should have a seam that looks something like the one below.
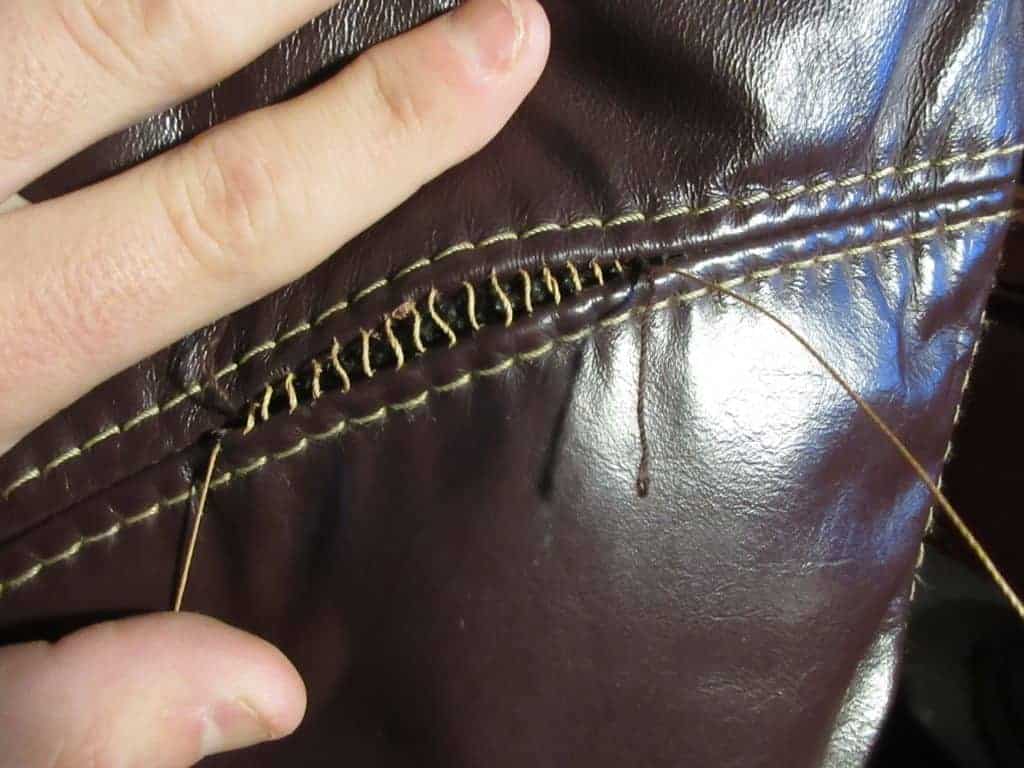
Both of the original threads should be on the opposite side of the new thread. In my case, both original threads are coming out of a top hole while the new thread is coming out of a bottom hole.
If they do not line up with each other you will just want to pop out the original thread from another hole.
Now that the new seam has some thread in it we can finish up the broken seam.
Stanley 84-096 5-Inch Needle Nose Plier | Amazon
Buy at Amazon.com
$10.24
Long tempered jaws for working in hard to reach areas. Features forged steel construction, rust-resistant finish, and double-dipped handle for comfort.
We earn a commission if you make a purchase, at no additional cost to you.
07/15/2025 02:00 am GMT
Step 3. Finnish repairing the broken seam
To close and secure the new seam we want to start by taking both sides of the new thread and pulling away from each other.
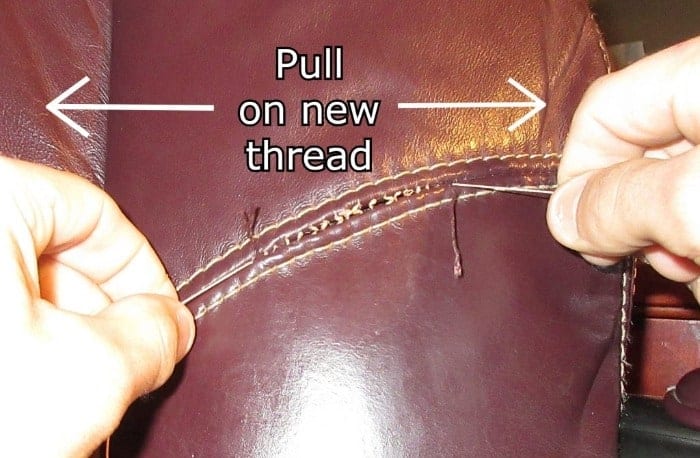
After giving the thread a pull on each side, you should notice the seam close up looking almost finished.
Now you can take the new thread and the old thread on each side and tie two knots in them.
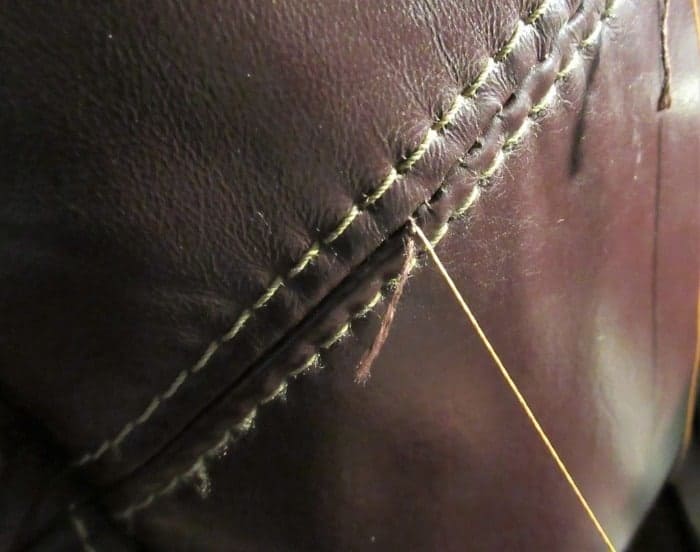
Once the knot is secured in place we will want to hide the knot and excess thread. To do this you can place the new thread through the eye of the hook needle and go into the seam and back out in between the seam.
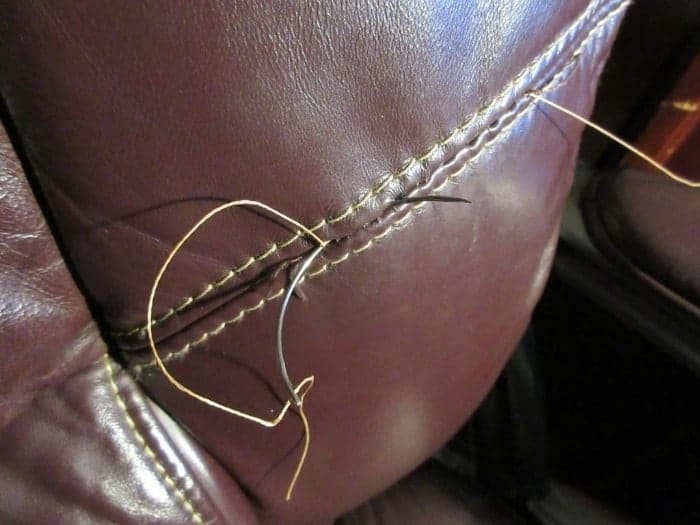
Pull the needle all the way through the seam making sure the knot has sunk into the seam.
Lastly, cut off any extra thread that is hanging out of the seam.
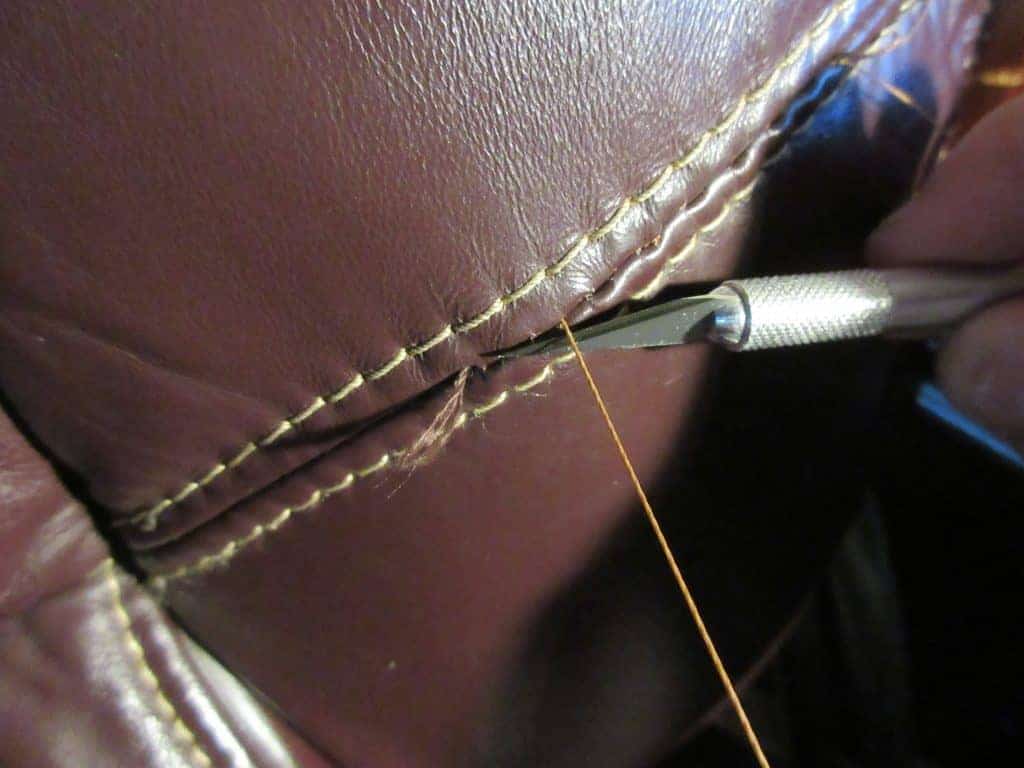
If there are any pieces of the thread still sticking out of the seam, just use the butt of the needle to push the thread back into the seam.
And there you have any easy guide on how to repair a broken seam in leather upholstery by hand. Very easy and only takes a couple of materials to accomplish.
Plus if you are into leather crafting you probably will have some of these items lying around your house.


