Best Leather Cutting Tools to Have on Hand
When you decide to get into leatherworking, the sheer number of recommended tools and gear can be overwhelming. It’s bad enough trying to find the right type of leather for you, so adding cutting tools to the mix can send a newbie leatherworker over the edge.
When I started leatherworking, attempting to keep all the cutting tools straight nearly caused me to give up. But I didn’t. I read guides, watched videos, and experimented until I was reasonably comfortable using them.
After a while, I found out that a combination of tools was the best way to make my final project the best that it could be. This is what I found out when it comes to leather cutting tools.
Five Best Leather Cutting Tools – Summary
| Tool | Average Price | Versatility | Importance | Recommended (what I use) |
| Utility Knife | $10 | 5/5 | 5/5 | WORKPRO Utility Knife |
| Hole Punch | $10 | 3/5 | 4/5 | DGOl Hole Punch Set |
| Swivel Knife | $15 | 4/5 | 3/5 | Tandy Swivel Knife |
| Xacto Knife | $5 (each single knife) | 5/5 | 5/5 | Mr. Pen Set |
| Skiving Knife | $15 | 4/5 | 3/5 | DUJISO Edging Knife |
If you only get five tools, let it be these tools. Each of these will prove extremely useful for 90% of projects.
You will use the utility knife (and/or your X-Acto knife) in 100% of your projects, and you will use the swivel knife in 100% of your leather carving projects. The skiving knife and hole punch are less versatile and will only be used for specific types of projects.
Leather Cutting Tool Breakdown
I’ve chosen eleven of my favorite cutting tools to help you get started in leatherworking. The recommended tools I offer will be tools that I have tried myself and given a gold star. I cannot recommend products that I do not have in my leather toolbox.
Utility Knife
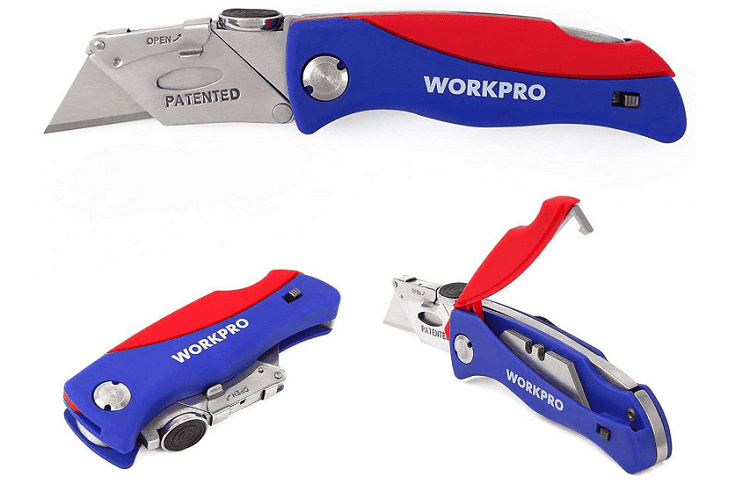
Recommended: WORKPRO Utility Knife
The utility knife is probably the most important leatherworking tool. At least, it is the most important tool to me. Since I have a background in construction, I have used a utility knife my entire adult life. It’s great for cutting sheetrock, but I didn’t know it was also the star of leatherworking until I started.
The utility knife can take care of any straight cut. I highly recommend marking the leather and holding a metal ruler up to the line before you make the cut. This helps keep your hand steady and ensures a straight cut.
The exact utility knife you get isn’t all that particular. I have had luck with Stanley, Irwin, and Westward. The reason I chose the WORKPRO knife is that it had extra blade storage, and it was a good price.
It has served me well. Remember to check your blades regularly, as thick leather can wear a blade down quickly. Utility blades are reversible, so you can flip them over whenever the blade dulls, giving you twice the number of blades as you might expect.
Hole Punch
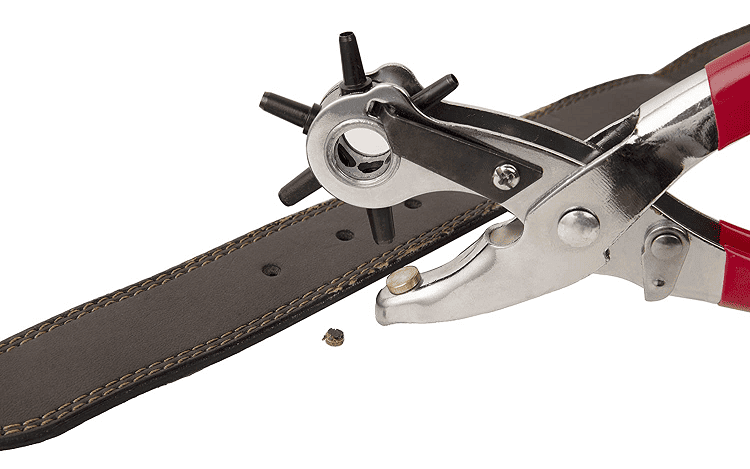
- Recommended Set: DGOL Set
- Recommended Hand Punch: BYXAS Punch
There are three types of hole punches used for leatherworking on a regular basis. More often than not, I use the sets that you hit with a mallet. But I have used the handheld rotary punch on occasion.
For belts, it’s perfect, but if I have a larger piece with holes in it, the manual punches work better for me. The third type of punch is semi-automatic.
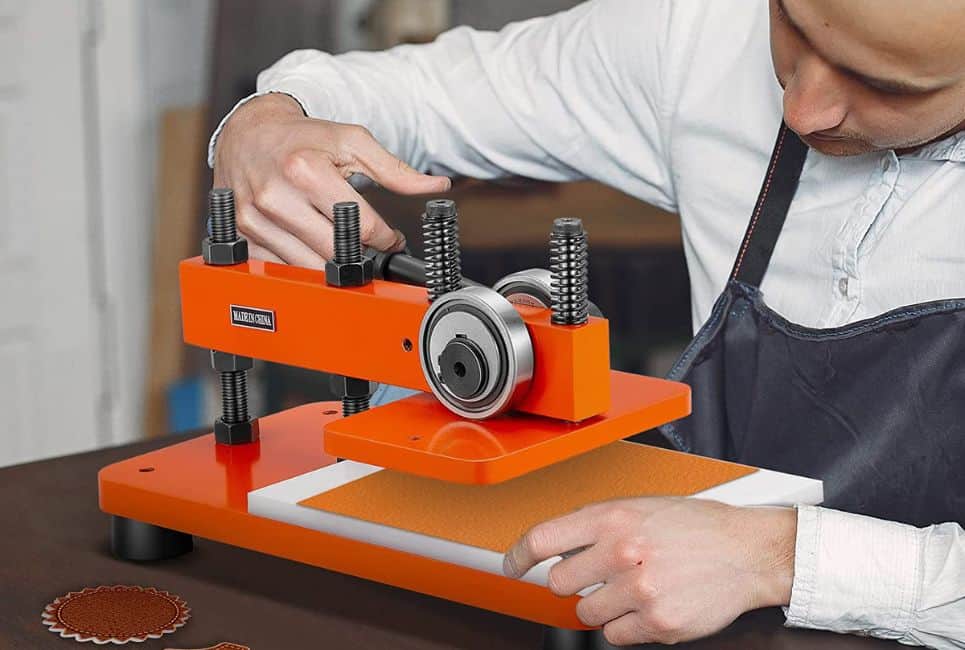
These typically mount to a table and come down like a waffle press. I’ve never used this type, so I cannot recommend one. However, they are convenient and are perfect for a permanent workshop.
Chisel Set
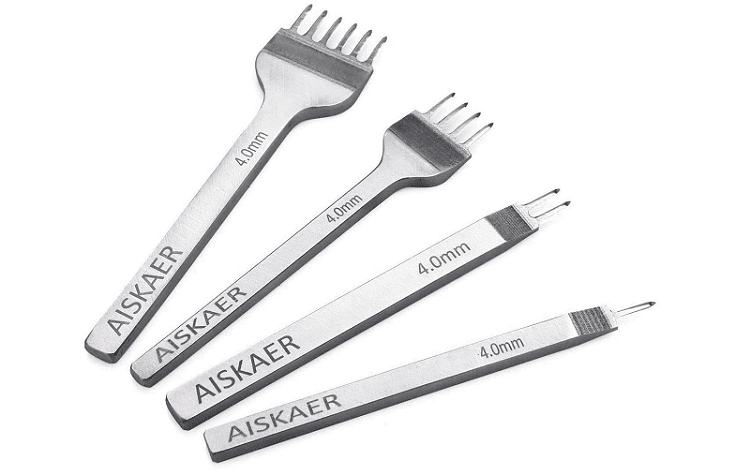
Recommended Set: Aiskaer White Steel
This is pretty much a hole punch set designed for small holes needed for stitching. I’ve only had two sets of stitching chisels. The first one bent after a month. But this set hasn’t even attempted to fold under the pressure of a mallet. You can get any size you want, but I find 4mm to be the most versatile.
Now, if you don’t do leather stitching, these probably won’t come in handy. But if you do hand stitch, then you can’t get far without them.
I have a Singer, but I still prefer the connection and imprecision of hand stitching more often than not. Not to mention, if your leather is more than 3oz, it’s difficult to find a sewing machine needle that can handle more than one layer of leather.
Swivel Knife
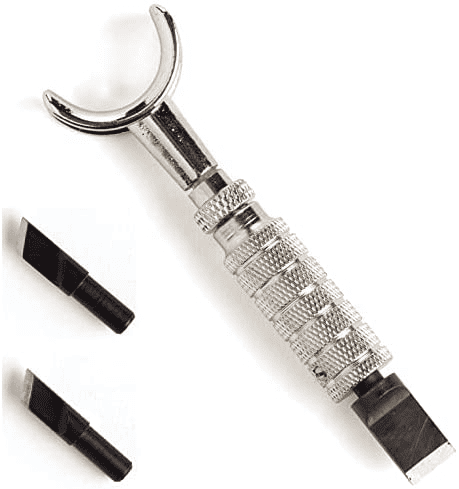
Recommended: Tandy Swivel
Whenever I started leatherworking, I was afraid to start carving. I realized early on that it was not going to be easy. But after going through a few different leather carving tools, I realized a few tricks that made it so much easier. It turns out I’m not completely inadept; I just didn’t know how to go about it.
With a high-quality swivel knife (that I keep sharpened) paired with a leather strop polishing compound, I could actually control what I did. Before you ruin a large piece of leather, consider trying out your newfound skills and tools on a small scrap piece of real leather that’s at least 4oz.
Round Head Knife
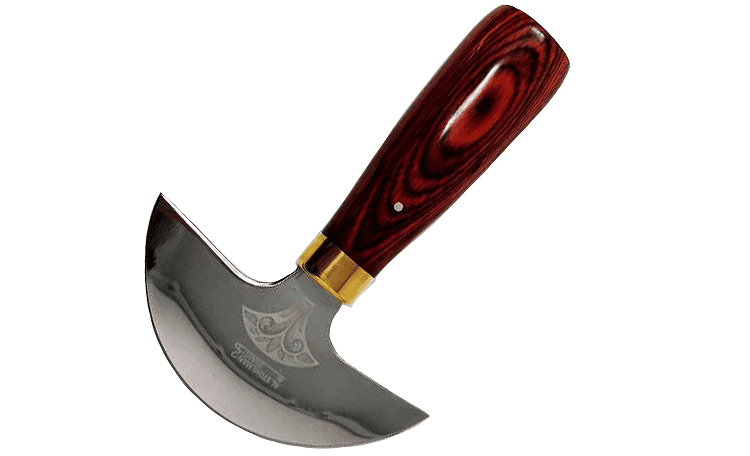
Recommended: Tandy Round Head
Round knives are expensive, and if I were to be perfectly honest, I’d say they aren’t worth the price. However, if money isn’t an object to you, then one from Tandy will serve you well.
You can make precise cuts at angles that are difficult to make with other knives. When you buy Tandy, remember that you can also buy directly from the Tandy website. I typically compare the prices and shipping time of the options on Amazon versus those on the company site.
Skiving Knife
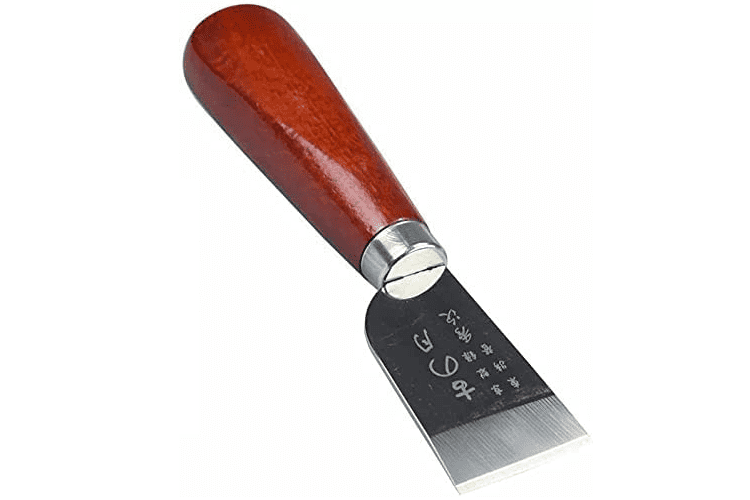
Recommended: DUJISO Skiving Knife
If you plan on creating precise, slanted edges on any of your projects, then you need a skiving knife. While it can’t cut directly through the leather as a utility knife can, it is perfect for trimming edges and creating perfect edges.
I have found that there aren’t many options for skiving knives, and that’s okay. Most skiving knives are similar in quality, as long as you keep the blade sharp.
X-Acto Knife
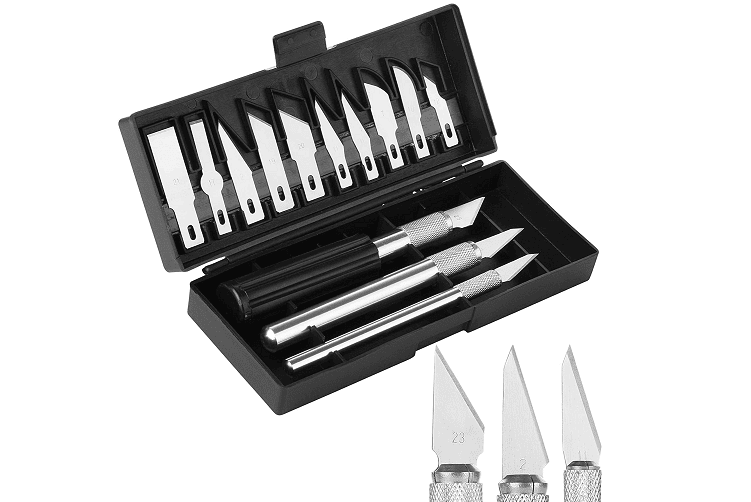
Recommended: Mr. Pen
The X-Acto knife was all I used until I realized I could use the utility knife I already had to cut leather. However, that didn’t mean I stopped using the X-Acto knives. Because X-acto knives have specific angles and shapes, so you don’t have to settle when cutting your leather. I do have to admit that my recommended set is just what I use.
There are likely better options, but when this set is on sale, it’s hard to beat it for the price. You may find more luck with an X-Acto brand knife; the brand the knives now get their name.
Either way, it’s now more important than ever to keep new blades in your toolset because, in my experience, these blades need to be replaced regularly, not sharpened.
Leather Shears/Scissors
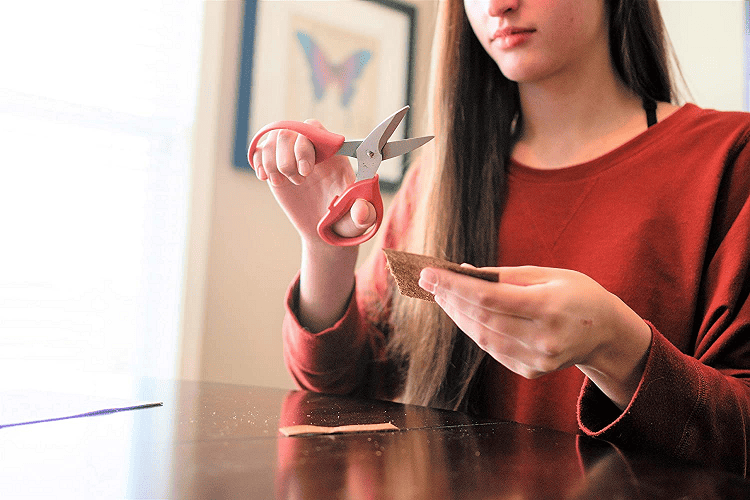
- Recommended: Pro-Master Scissors
- Alternate Scissors: Gingher Leather Scissors
Before you get shears for your favorite leather, take a look at the thickness of the leather. I don’t use scissors on leather that’s more than a few ounces. I use the shears for very thin leather and to cut threads/lace. Lace isn’t easy to cut with standard scissors, so I got the pair I have to cut lace.
However, you may have the perfect leather for cutting with scissors. Just keep in mind that it may wear the blade down quickly if the scissors aren’t made to cut such materials.
Rotary Cutter
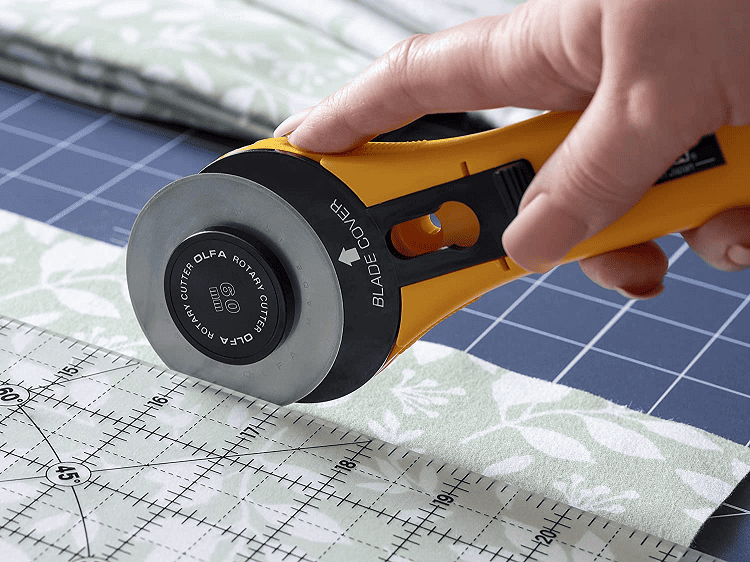
Recommended: OLFA Rotary
While many leatherworkers like to use rotary cutters, I prefer X-Acto knives and utility knives. Rotary cutters are great for certain situations, but it’s easier for me to control other knives.
That said, if you feel more comfortable with something like this, then it could change every project you have from here on out. The blades are replaceable, so although they may wear out quicker, they can be replaced fairly easily.
Corner Cutters and Half-Round
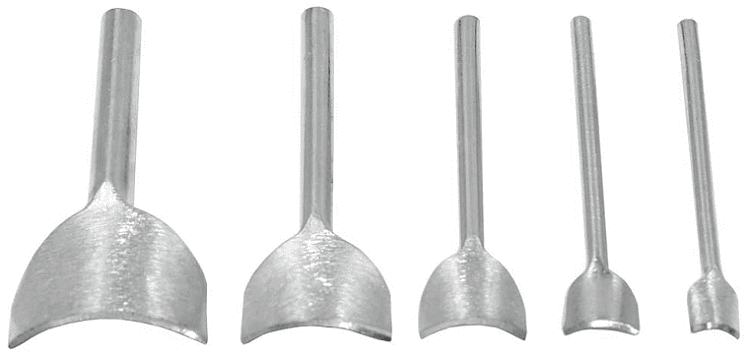
When I found out that corner cutters existed, my leatherworking life changed for the better. Before I got my first set, I manually cut corners, and it was difficult to get them perfect. But with these tools, you can make half-circles for belts or perfect corners for journals with one pound of the mallet. If you only get one “luxury” cutting tool, let it be these, and you’ll feel like a professional instantly.
Leather V-Gouge
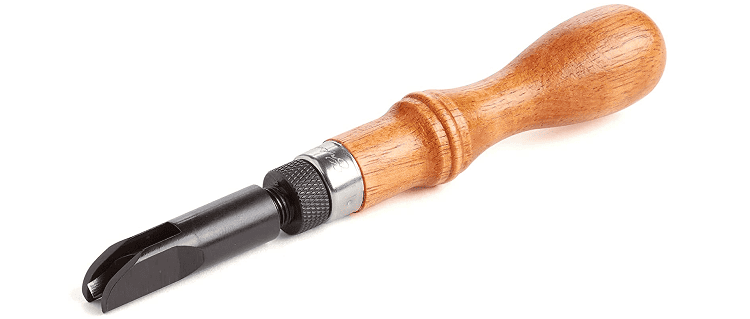
Recommended: Tandy Leather V-Gouge
A leather v-gouge can be helpful if you work with thick leather and you need to make straight, precise cuts. If you’re also a woodworker, chances are, you’re familiar with this tool. With an adjustable v-gouge, you can use the pressure and the adjustable mechanism to control the depth of the cut.
You can use a thin for tracing for leather carving or to create stitch lines. The v-gouge is also perfect for creating folds in the leather as it will leave you with a perfect line.
Leather Strap Cutter
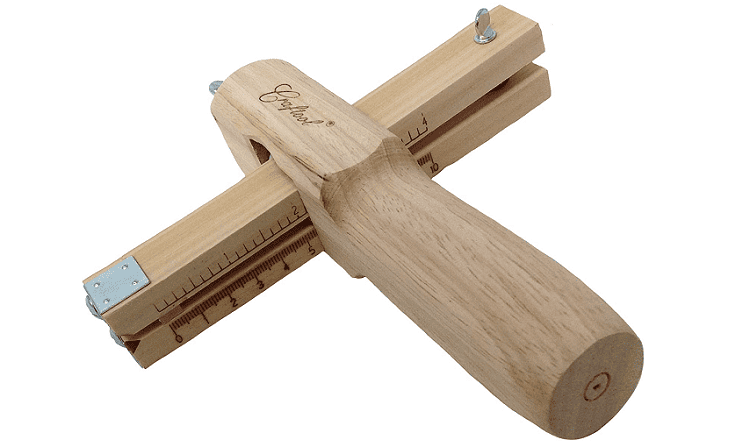
Recommended: Tandy Strap Cutter
A strap cutter for leather can be a confusing tool at first. But once you get used to it, then it is much easier to cut straps. If you make a lot of belts and backpacks, then a strap cutter is definitely worth the investment. You can adjust the tool to the width that you need and have the strap cut perfectly in seconds.
Leather Trimming Knife
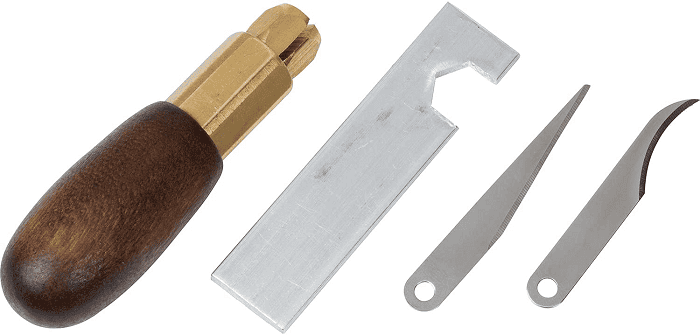
Recommended: Weaver Trimming Knife
A trimming knife is a good tool to keep around and is fairly self-explanatory. You can use a trimming knife to trim the edge of leather either straight or at an angle. It’s easy to get creative with a trimming knife as it can be used for skiving, and the tiny tip makes it easier to work on the fine details.
Additional “Cutting” Tools
There are a few extra items that are used with cutting tools but do not have blades. I don’t mean tools like a beveler or an awl, which aren’t exactly cutting tools, but it also doesn’t assist with traditionally cutting either. What I mean is the tools that you need if you are to cut leather properly. Add these items to your shopping list as soon as possible.
Cutting Mat
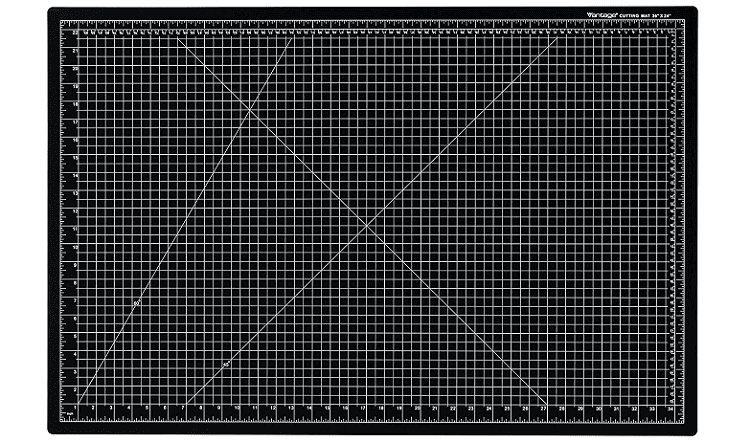
Recommended: Dahle Mat
When I started leatherworking, I used a small 9×12 mat. This worked for scrap pieces, but soon enough, I needed something larger. I settled on a 24″ by 36,” and I never looked back.
You can get smaller or larger than this, but this size worked for me. A mat not only makes cutting through leather easier, but it protects your tabletop, and it has straight lines on it.
Mallet
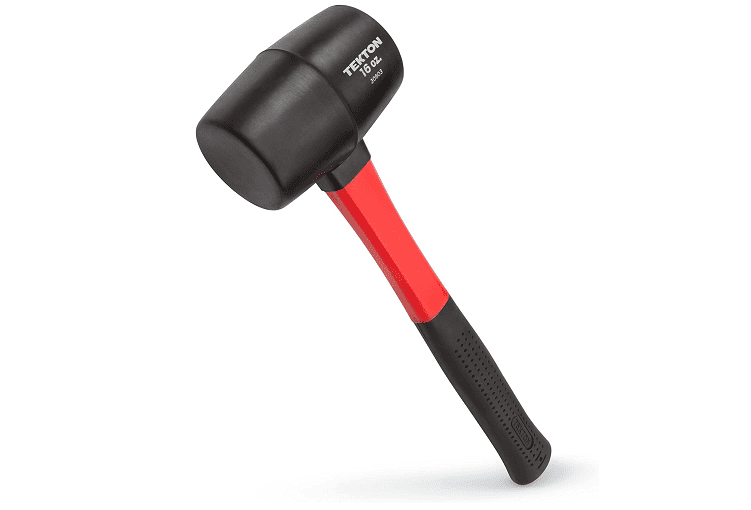
Recommended: TEKTON
A mallet is something you will find that you need right away. Ensure that the mallet is rubber and that you can hold it with one hand, and the exact mallet you get isn’t crucial. I prefer to have two or three mallets. I use smaller mallets for leather carving and larger ones for leather cutting.
Anvil

Recommended: Tandy 2lb
The anvil is in no way necessary, but I find that it makes hole punching and eyelet/button adding a lot easier. This size, the 2lb anvil, is also perfect. As someone who grew up dreaming of becoming a medieval blacksmith, the anvil also added an aesthetic that I needed in my life.
Sharpening Stone

Recommended: Sharp Pebble
While you can get by with replacing blades most of the time, sometimes, you need to sharpen your blades. This set comes with its own stropping compound, which I would normally recommend even if you don’t get a sharpening stone. I really love this set, but you can buy each piece separately as well and get the same result.
FAQs
Question: What Leather Cutting Tool Should I Get First?
Answer: The first leather cutting tool you should get is either the utility knife or X-Acto knife. These serve the same purpose in the beginning. I recommend getting a starter set that has the basic tools you will need at a terrific price.
Question: How To Get Cut Straight Lines In Leather?
Answer: Cutting straight lines takes practice, but there are a few tips that will help significantly. First of all, keep your blades sharp and polished, as that’s half the battle. Then, draw lines on your leather before you cut. Finally, keep your hands steady and practice the right amount of pressure.
Question: Should You Cut Leather Wet or Dry?
Answer: In most cases, the best bet is to keep the leather damp. However, when I’m not carving or dying at the moment, I get by with dry leather for straight cuts. But you can keep it damp; just don’t soak it for standard cuts.
Getting Started with Cutting Leather
If you have to start out with one utility knife and a 1×1 scrap of leather, then you shouldn’t feel bad about it. Most people do not buy all of their tools in one day. I know I didn’t. There are still tools on my wishlist that I haven’t got around to buying yet. The leather itself is the most expensive part of leatherworking, and it’s the only necessary purchase.
So keep your cool and get the tools as you need them. Projects can take months to finish, so take your time and enjoy being one with the leather. The feeling you get whenever you look at your project and think, “I made this,” will be everything you need when that day arrives.
For more interesting readings, check out:


